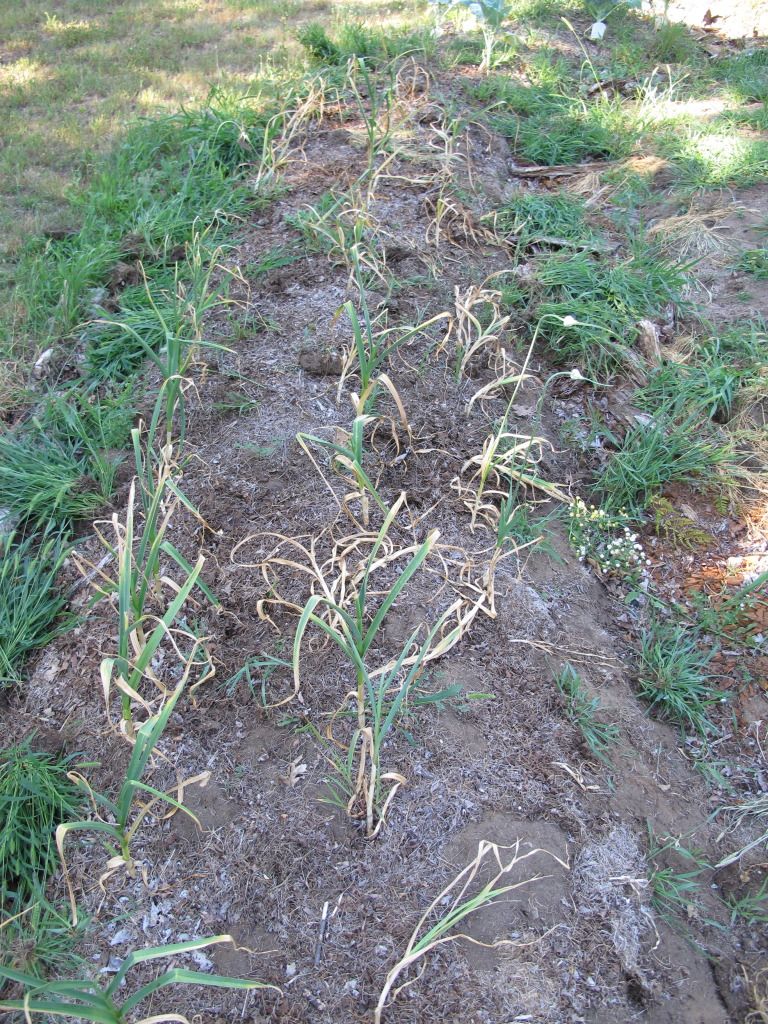
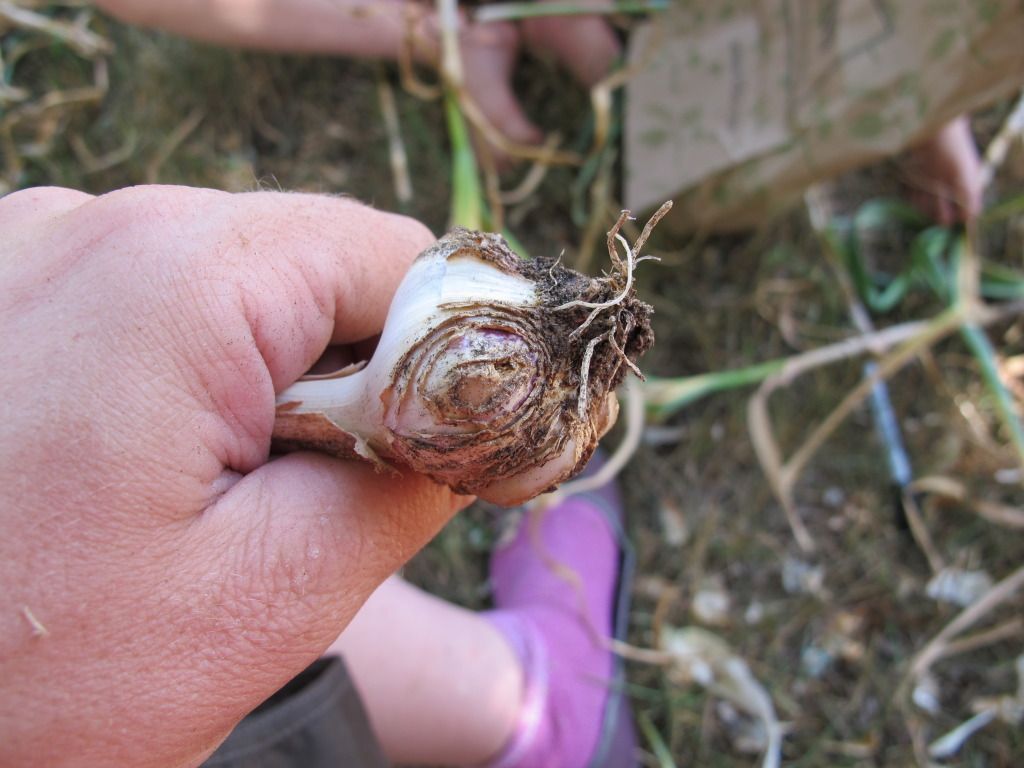
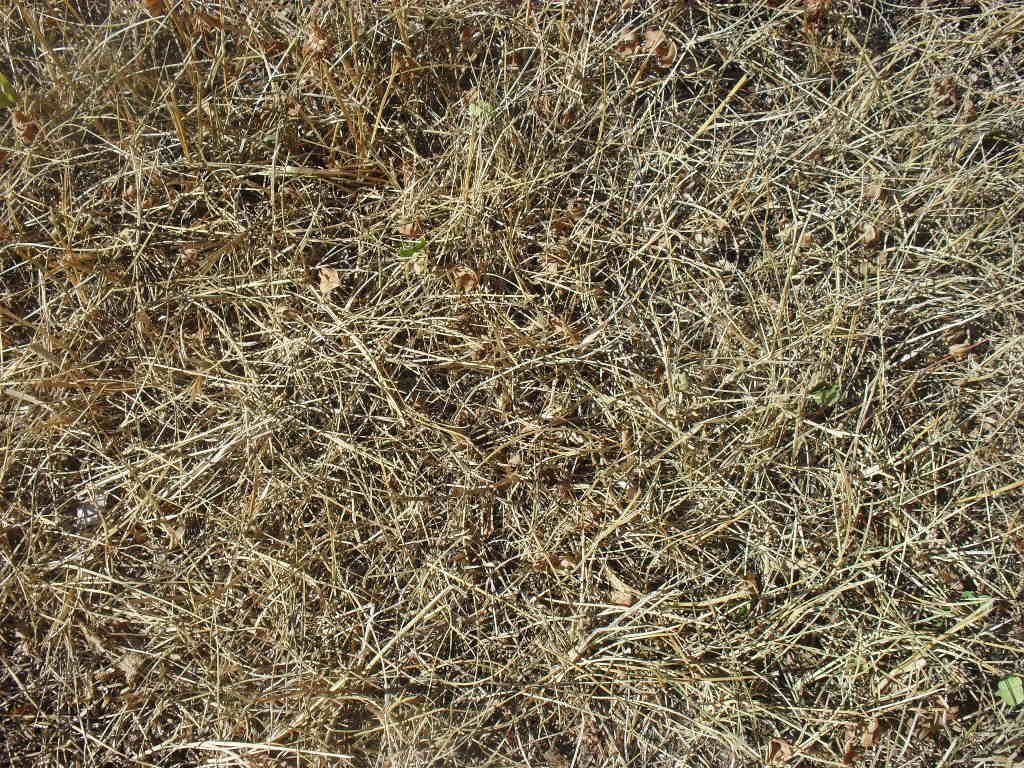
 My so-called lawn right now after two months in a level 1 drought
So we have had
no significant rain for months. This is atypical for the normal slightly soggy Ottawa. I don't irrigate, partly on principle and partly because in my nearly three acre clearing, it wouldn't be easy. I also don't have a high producing well or the desire to drain it so I rely on rain, the odd watering can filled from rain barrels (or in desperation the well) and mulch.
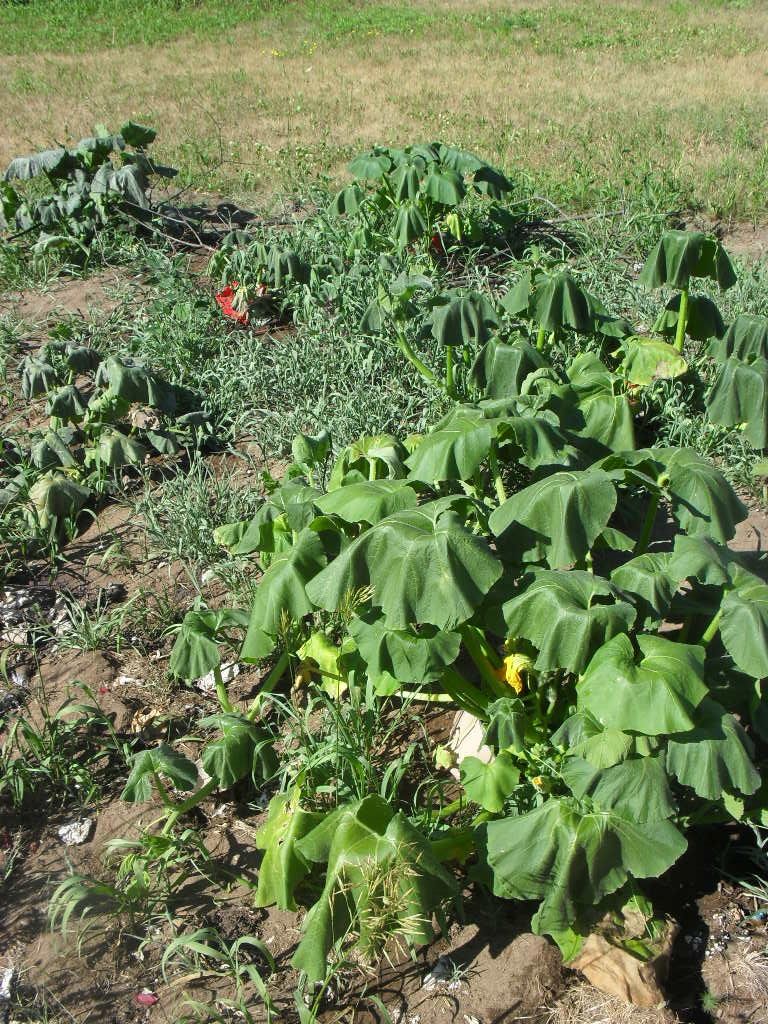 My pumpkins are me-e-e-e-e-e-e-lting: planted in a hasty bed - sod cut out to form a path then tossed on top of some compost over the middle or bed part of the sod. No weeding, just raking smoothish and then planted with pumpkin seeds. I've had to haul a watering can here over the last few days.
Mulch
It acts as a barrier between the sun and the soil. This helps maintain soil moisture and prevents weed seeds from breaking dormancy and cover the soil for you in the symbiotic dance of the soil and plant. In other words, bare soil is vulnerable so, given the right conditions, when soil is disturbed, its seed bank will burst into life and cover the cut.
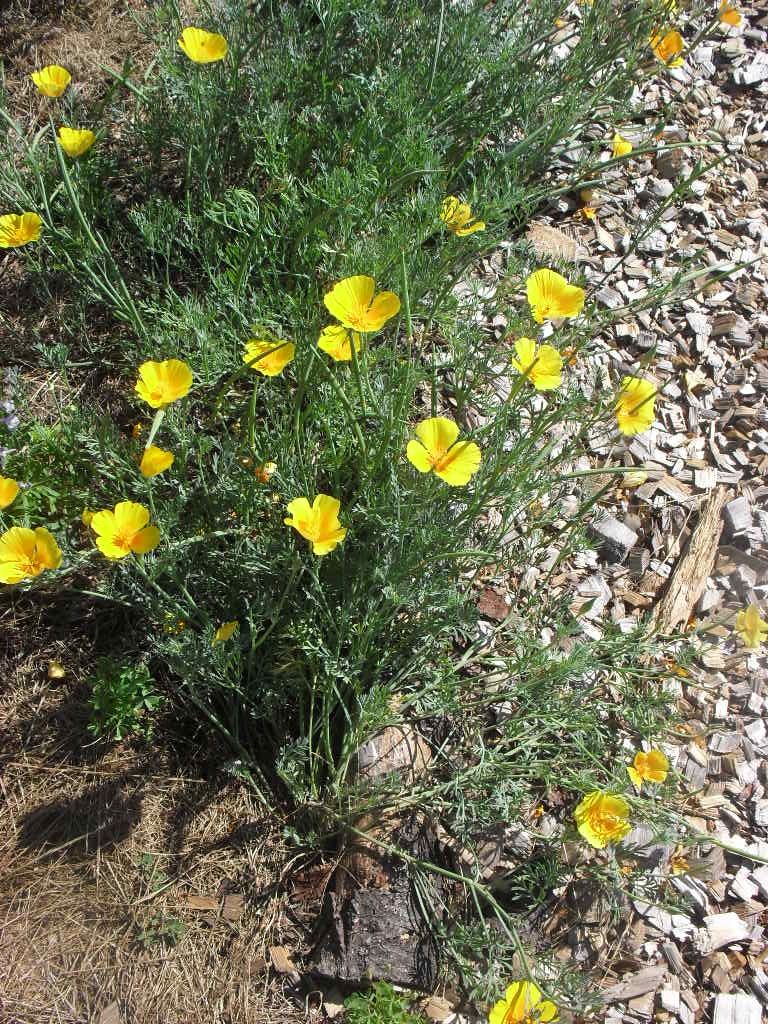 On the left of this photo, grass mulch and on the right, wood mulch path. It helps that california poppy is also a drought resistant reseeding annual.
Organic mulch will break down over time improving the soil's texture and ability to retain moisture as well as adding food to the soil ecosystem. Organic mulching is like sheet composting so you should be aware that dry matter like wood chips and straw are high in carbon versus grass clippings that are higher in nitrogen(1). Though I've never experienced this, if you heavily mulch with carbon rich stuff, it is possible to suffer nitrogen deficiency so some people suggest amending with a nitrogen rich source such as blood meal (or pee). I've also used well rotted bagged composted as mulch around my heavy feeding plants when in the city with excellent results.
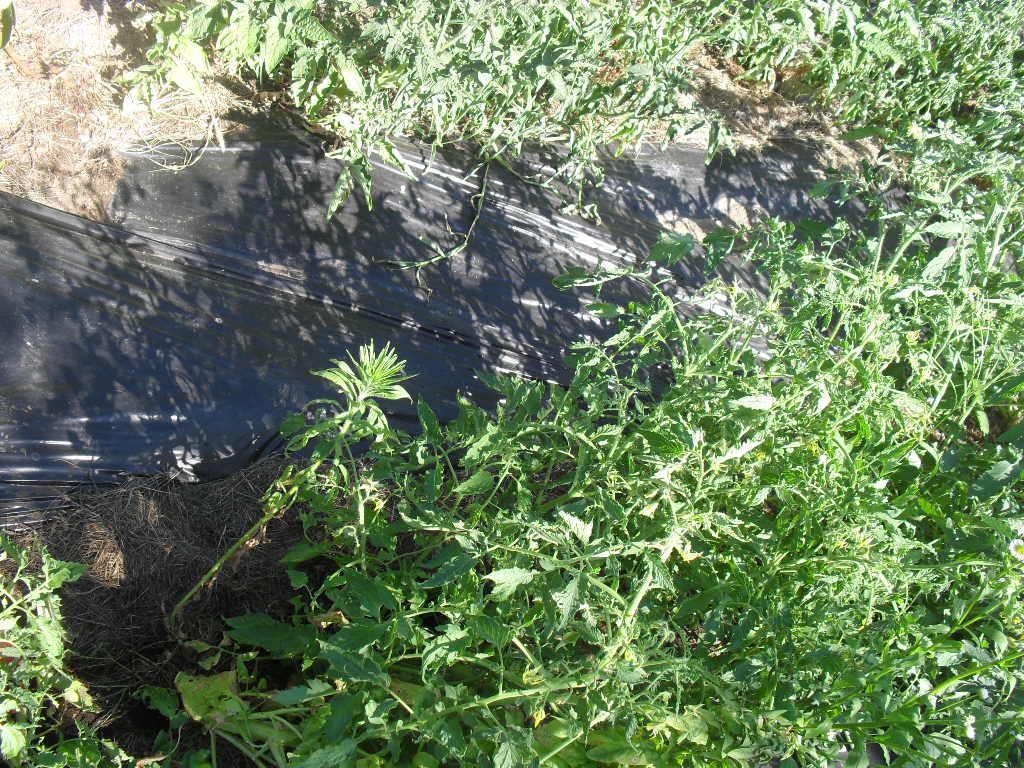 I had some of this so-called black corn plastic (it's supposed to break down - sure) left so I mulched between my tomato rows with grass clippings at the seams. It eliminates weeding isn't pretty. I really need some straw but after reading this, I'm looking for a good source.
Inorganic mulches such as stone will also help cover the ground though won't break down (fast at any rate) which has a plus of having to renew less often and the negative of not contributing to soil fertility and tilth. I also have been known to use plastic mulches such as clear for soil warming and black for weed exclusion. Both will retain soil moisture but apply carefully by forming shallow indents around your plants and seal the slits with sand to help funnel overhead water to the root zone. Some people put irrigation tubing under the plastic.
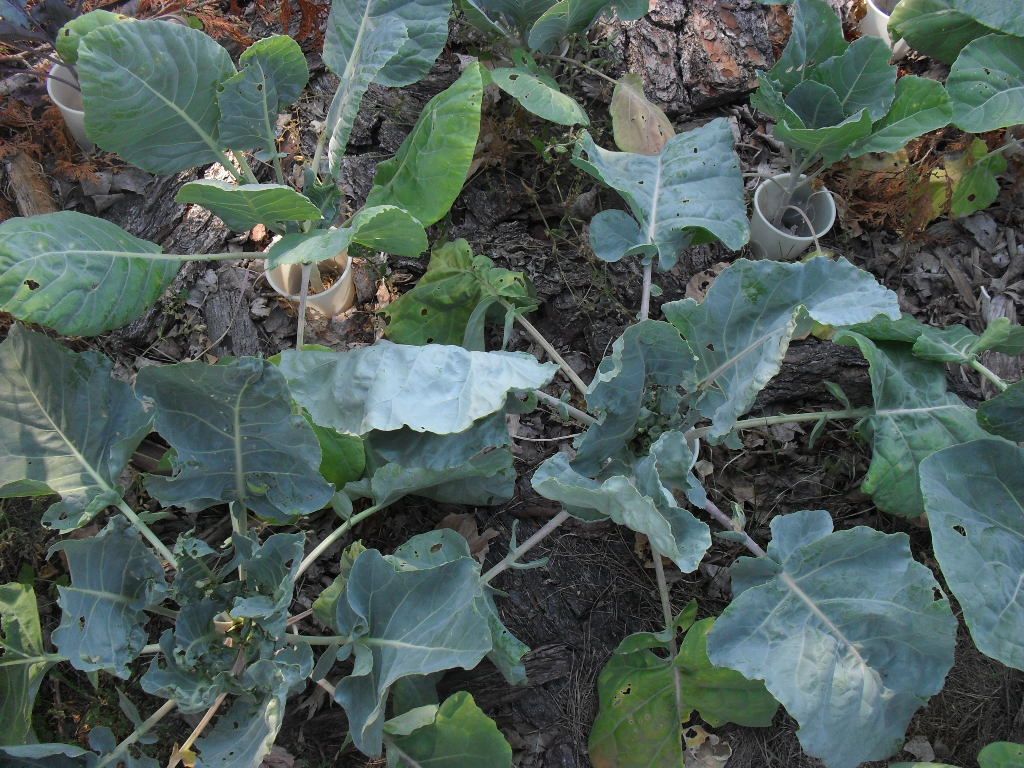 Brussel sprouts mulched with leaves and bark. Despite the fact that my broccoli plants have been desiccated this year by earwigs (which hide out under wood), they have left these alone? They don't like to eat in their bedroom?
Plants can also act as
living mulch(2). Either by close spacing and successive thinning or interplanting. Low water levels may mean that the mulch plants over competes with your main crop. In more permanent plantings, living ground covers can protect the soil. If the plant is vigorous enough - like comfrey - it can be used as a
chop and drop mulch right there or in another part of the garden.
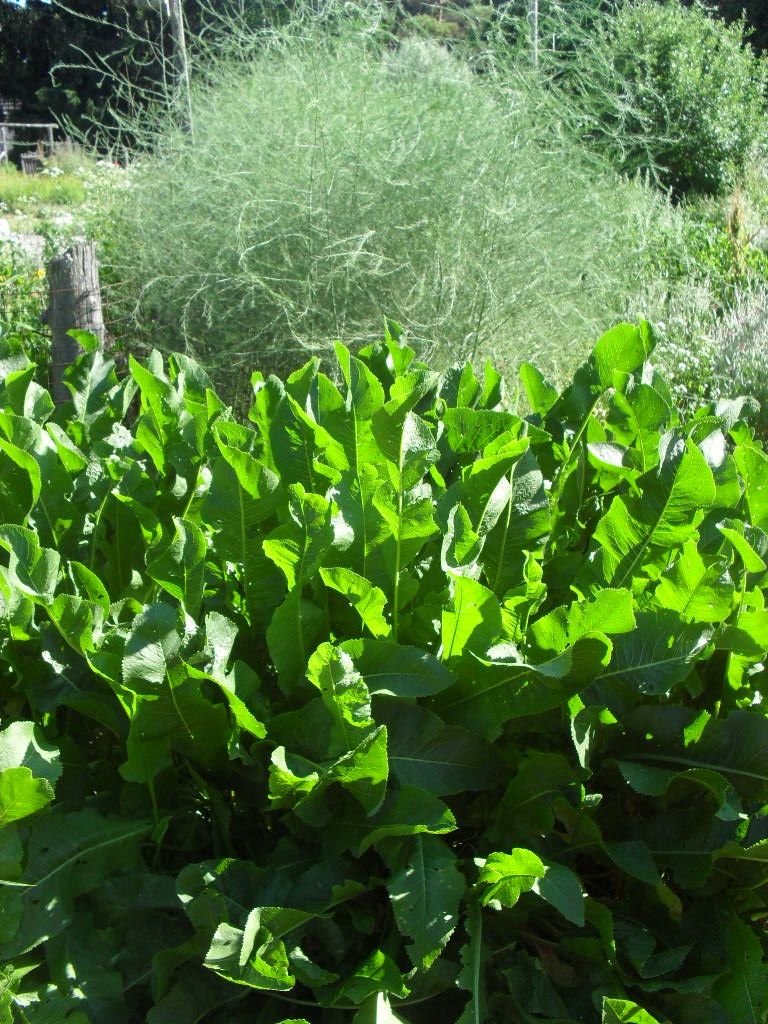 "What drought?" say large rooted horseradish and asparagus.
In my country paradise, it is not as easy to come by materials as the city where it was commonly bagged and left on the curb side so I am left to experiment with more ideas.
Green manures or cover crops which are often grown to improve the soil such as winter peas, rye and buckwheat can be sown and then cut at a the right stage so that you can plant into them(3). I've always used volunteer 'weeds' as mulch by pulling them young and laying them back on the bed. Only a few of them will reroot - yellow dock tries hard - or seed - purslane - despite being pulled. Works best when done on a dry day.
There is a lot of woody debris lying around so I use variations on
hugelkultur especially in paths to act as sponges between beds to absorb and emit water.
Land Contouring
Garden planning is partly about flow of air(4), sun, and water. When it comes to limiting water loss in dry weather, you can change the shape of your land to get water to flow where you want it too. This helps direct excess water away too if required. Terracing is an old technique to limit erosion and water loss on hills. Our clearing is on a slight slope, so I've been digging paths along the contours and then filling them with woody debris to help slow down water. I also plan on putting some storage ponds at the bottoms of the gardens. Though this year, like the natural pools in the woods, they'd be drying out by now.
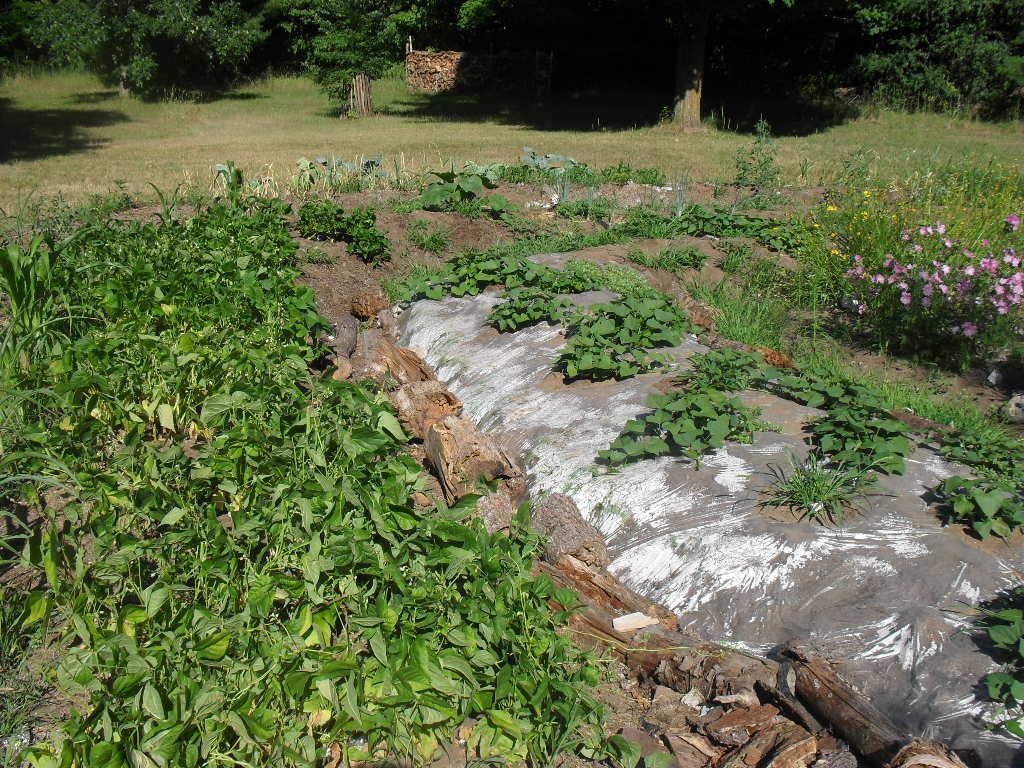 Raised beds built along contours with woody debris infilling paths. Beans on left and plastic mulched sweet potatoes on right.
I work with a lot of raised beds as most years with normal rain fall and sun, they help the snow melt faster, the ground is quicker to work and the dirt heats up faster meaning better harvests. However, you can invert this and dig little trenches for crops that need more moisture and cooler temps. I normally use this technique with leeks as I expect the trench to naturally hill up as at the sides slide down but it also helps retain moisture.
If you want to prevent the ground from drying out too quickly, a wind break either solid like a fence, temporary like a thick planting of sunflowers or permanent like a hedgerow can help especially if it blocks the prevailing winds. We have a large, outcropping sited more or less on the north side of our property and trees entirely surrounding our clearing so I find that frosts hit just a little later here than the surrounding fields. There is also substantially less biting wind.
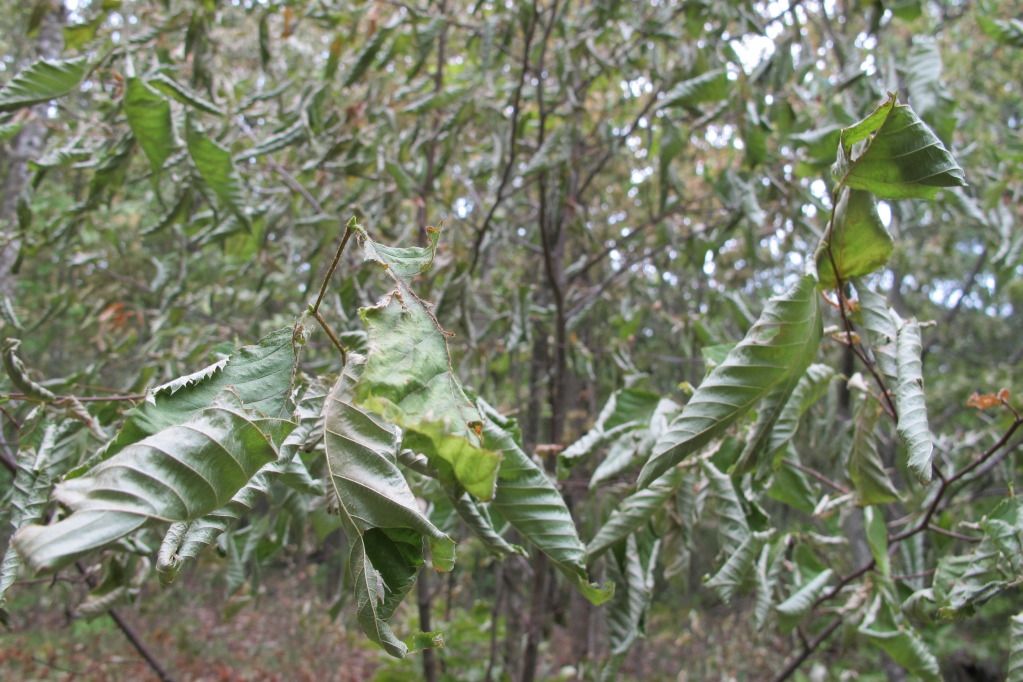
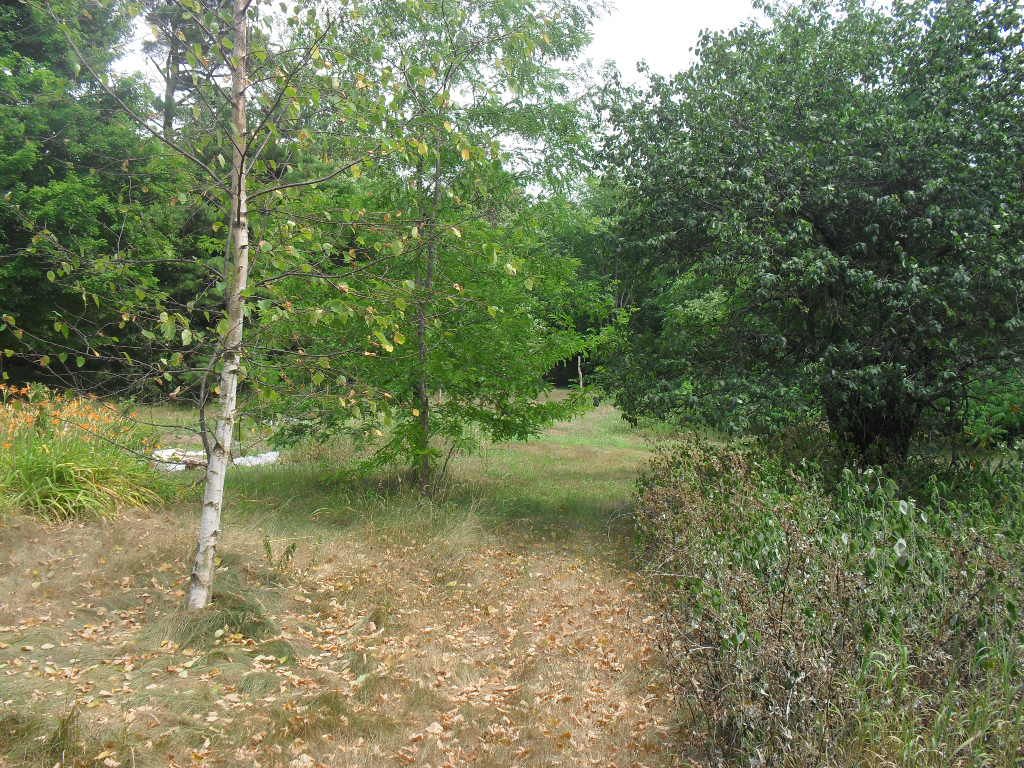 Here birch and raspberry are growing on thin soil near an outcropping. You can see that the raspberry canes are drying up and the leaves are dropping from the tree prematurely.
Water Capture
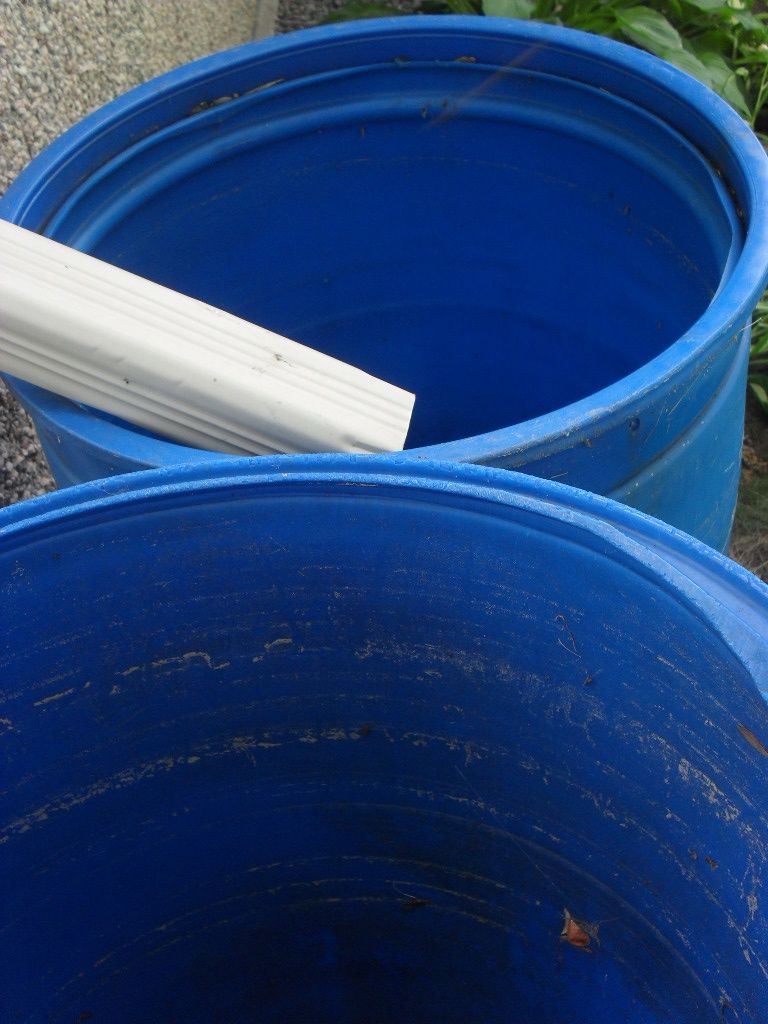 Nearly empty rain barrels.
Timing your sowing and transplanting so that they correspond with the times of high soil moisture such as after the snow melt or rain (where are you rain?) is much easier and crucial in some areas that get seasonal droughts but when you have to irrigate, think water capture.
Firstly, you can recycle the water you use. Don't throw out your cooking or bath water but rig up a way of sending it to a storage spot or hose. It could be as simple as lugging buckets or as complicated as a series of
grey water ponds for filtration. There are often regulations on the use of certain recycled water so read up on what they are for your area.
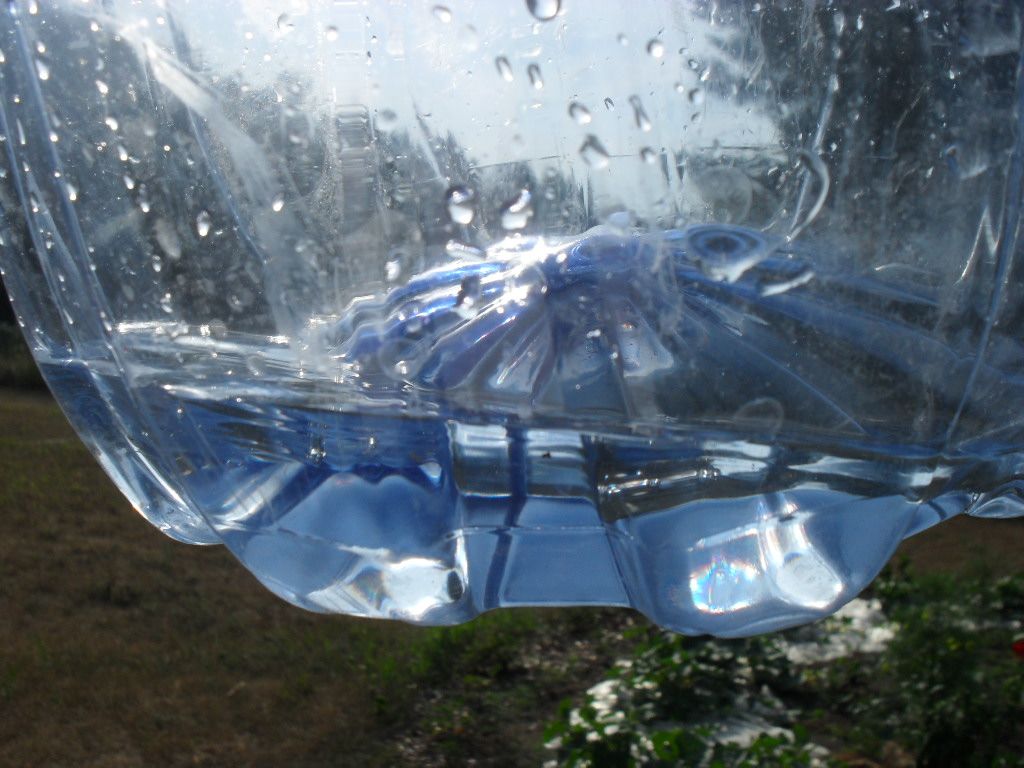 Here's something I put used water in. Someone left it on the curb side. I also use these large water bottles to make mini greenhouses.
Setting up a series of rain barrels at your downspouts can be an easy way to supplement your water. Your roof type will affect the residue in this water(5) and in urban areas, you may be given dirty looks if you don't cover them because they can be mosquito breeding grounds. P.S. in my urban home, I had a small pond occupied with larvae eating goldfish despite what that pet store person said about goldfish not being interested in invertebrate babies. My fish didn't seem aware of this dietary restriction.
In dry areas, some people would keep their water from being wicked up by the sun as soon as it was sprinkled down by devising slow watering devices such as an olla - essentially a buried, porous ceramic pot. You could be creative and make them out of ceramic pots though I've seen people use pop bottles too.
Plant Selection and Spacing
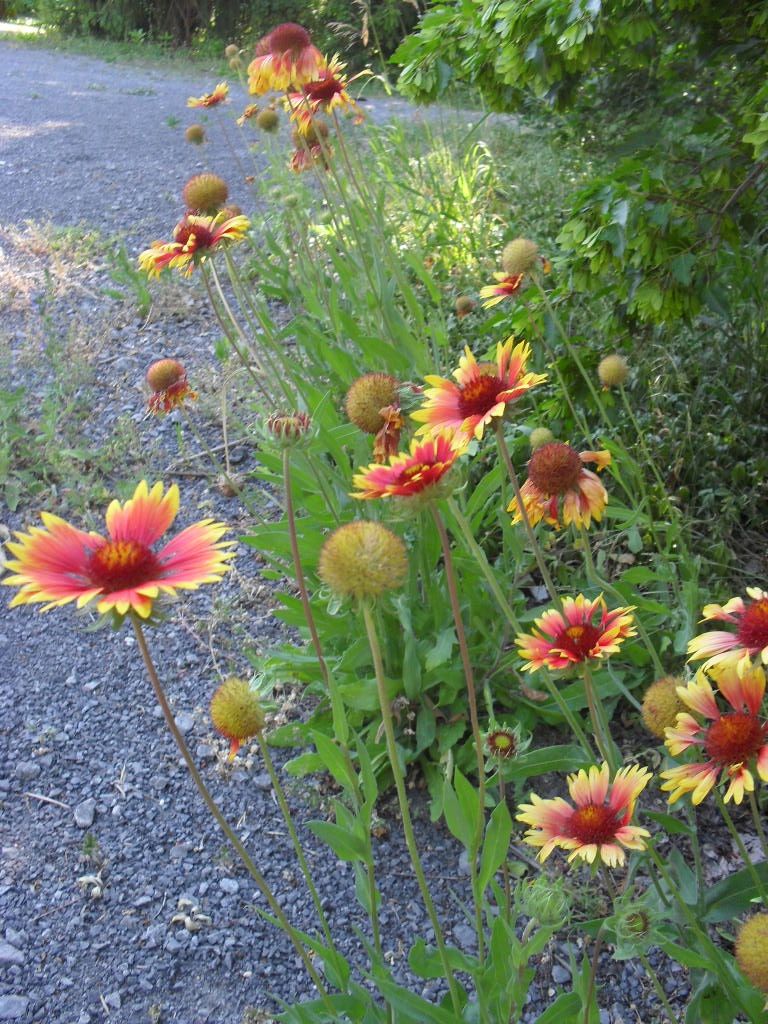 Blanket flowers is a classic xeriscape perennial.
The only time the garden bed needs to be constantly moist is if you have a bog garden or if you are trying to germinate seeds; otherwise, it is wise to go awhile between deep waterings to encourage your plants to develop deeper, strong root systems. Letting some plants like pumpkins and tomatoes sprawl allows them to root along stem nodes where they touch the ground.
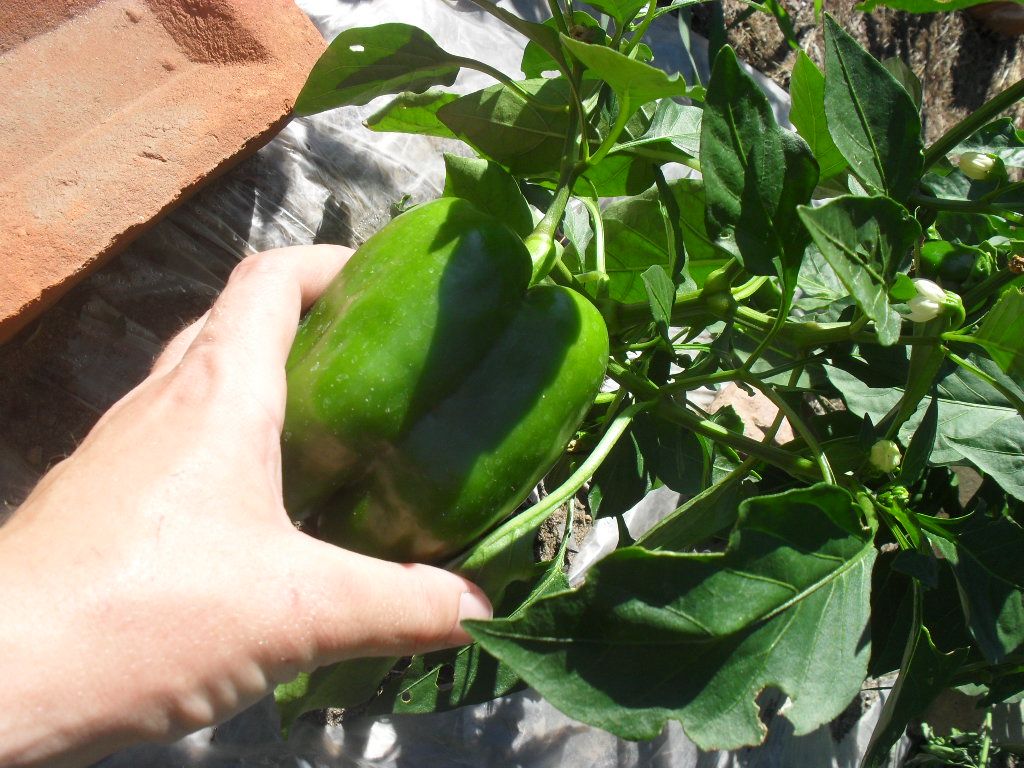 The peppers are loving this heat. These are mulched as they would start to droop with too much moisture stress.
Spacing them further apart will also for less competition for scarce resources. Also, take advantage of shade. Bet you don't hear that too often in regards to edible gardening? A partly shaded garden will work well for many greens and some root crops(6). You can get shade cloth for obvious reasons or floating row cover which helps hold in some moisture too.
And lastly, go for drought tolerant plants. Of course, you've probably heard of xeriscape gardening which is great for decorative beds. There are
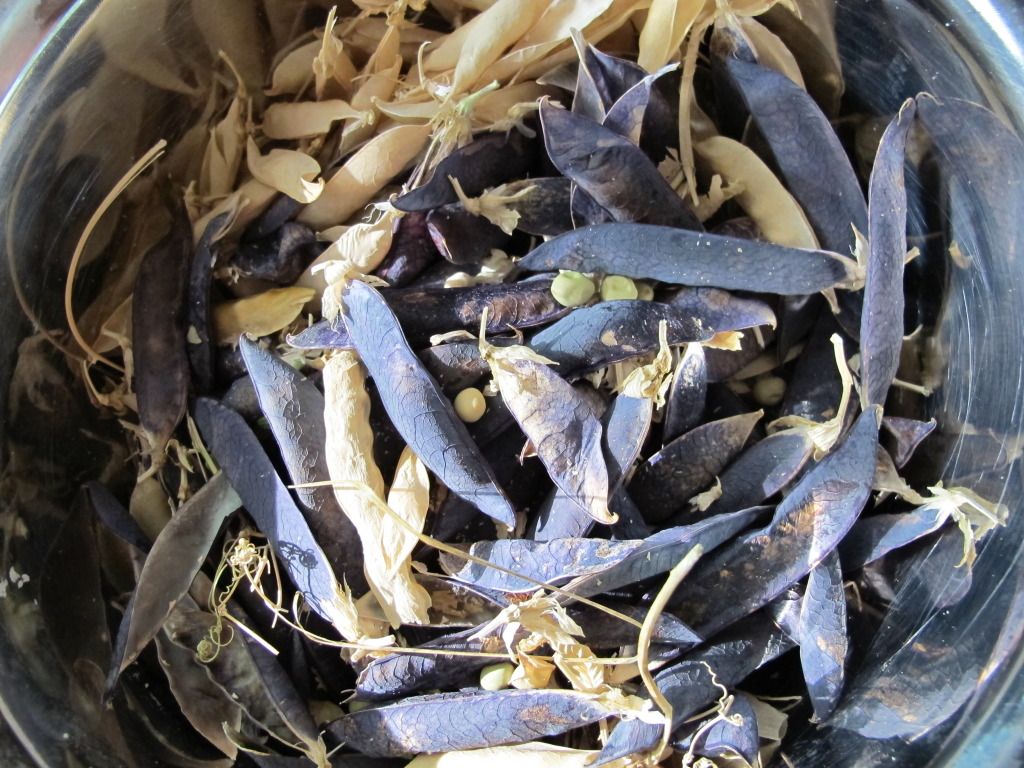
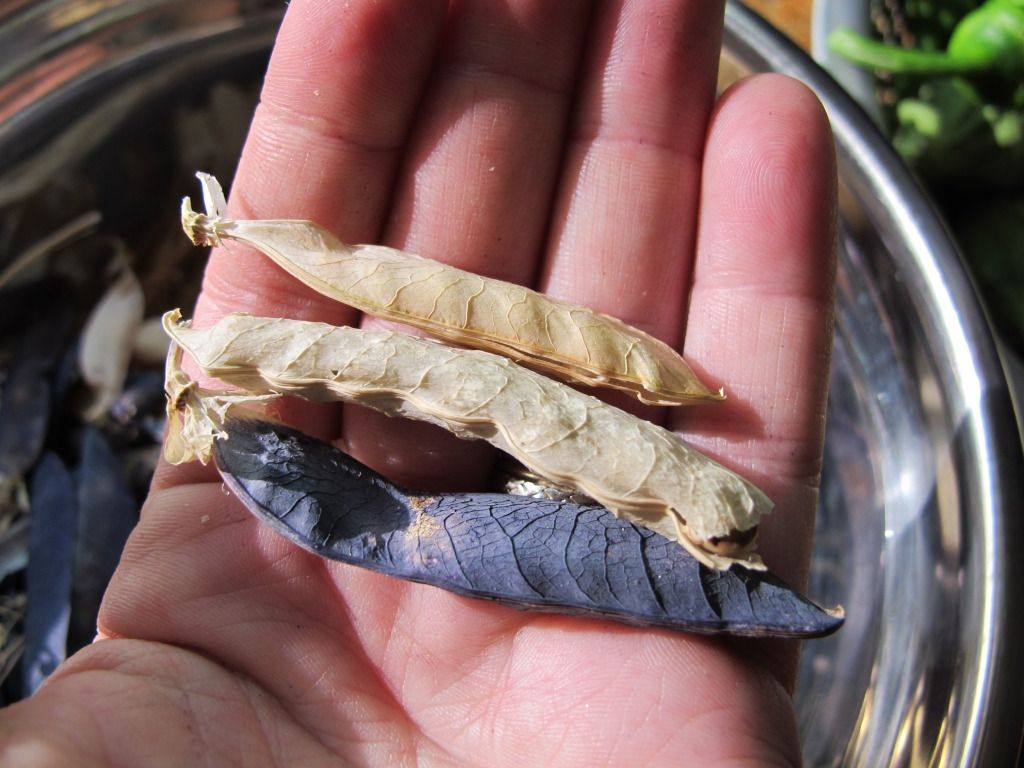
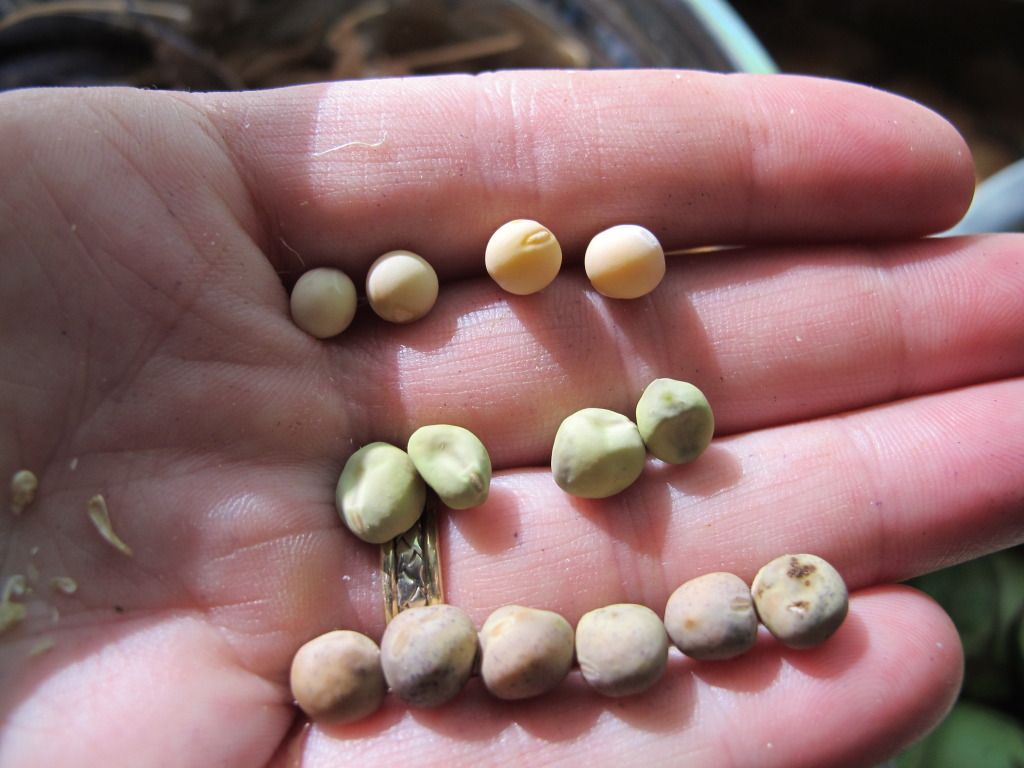
edibles that do well in drier conditions too(7) and lastly there are cultivars of beloved favourites that will beat the heat and dry better than there brothers and sisters. I find that indeed, edible golden podded pea, does better in the drought than some others.
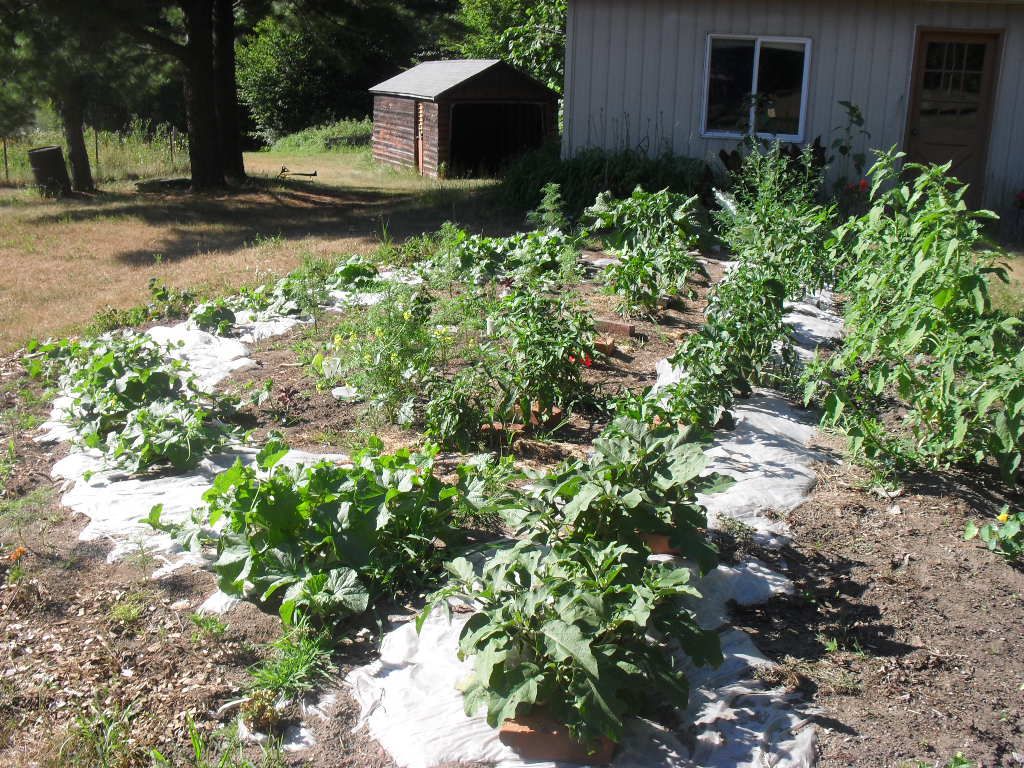 I've left the weedy amaranth in the rows as a supply of heat tolerant greens. The earwigs ate the prettier red splashed one that I seeded. Here melons and peppers are thriving.
Now let's all go outside and watch the skies. It's bound to rain one of these days!
Do you know a lot about gardening in drought? Please share your tips.
(1) For more on composting, check out related post:
Waste Not, Want Not - the Story of Crumbs - Part II
(2) The above link deals with white clover. The advantage of nitrogen fixers of course is that they make nitrogen available for other plants and aren't heavy feeders themselves so compete less with your crop plant. I've commonly heard of the mint family as being used this way such as mints or oregano. If you have grown mint, you'll understand that how it could be a good ground smother. Other plants work as different
nutrient accumulators.
(3) They are commonly incorporated into the soil but I want to take advantage of their mulching capacity.
(4) Because cold air is heavier and sinks into lower spots, this means that you should be careful not to place certain gardens in hollows because they are more likely to experience first and last frosts at the end of the growing season.
(5)
See here for a discussion. I haven't had time to look into it with detail though some metal roofs are commonly used for water collection.
(6) Related Post,
Vegetables for Shade
(7) Related blog post on
Drought Tolerant Edibles Plants for the North
