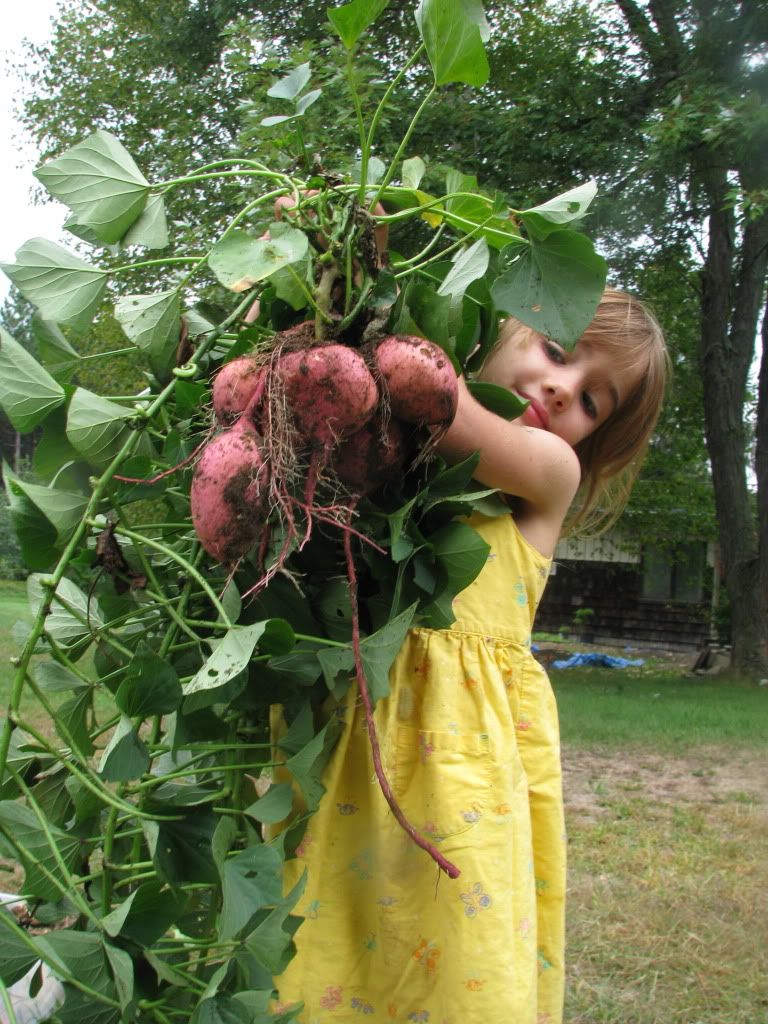
One of the descent producing plants in The Back Rock Garden
Ipomoea batatas grew like a viney weed all summer and now, with temperatures threatening to drop at week's end, I've yanked out the vines and carved open the ground to see what the ground had been hiding.
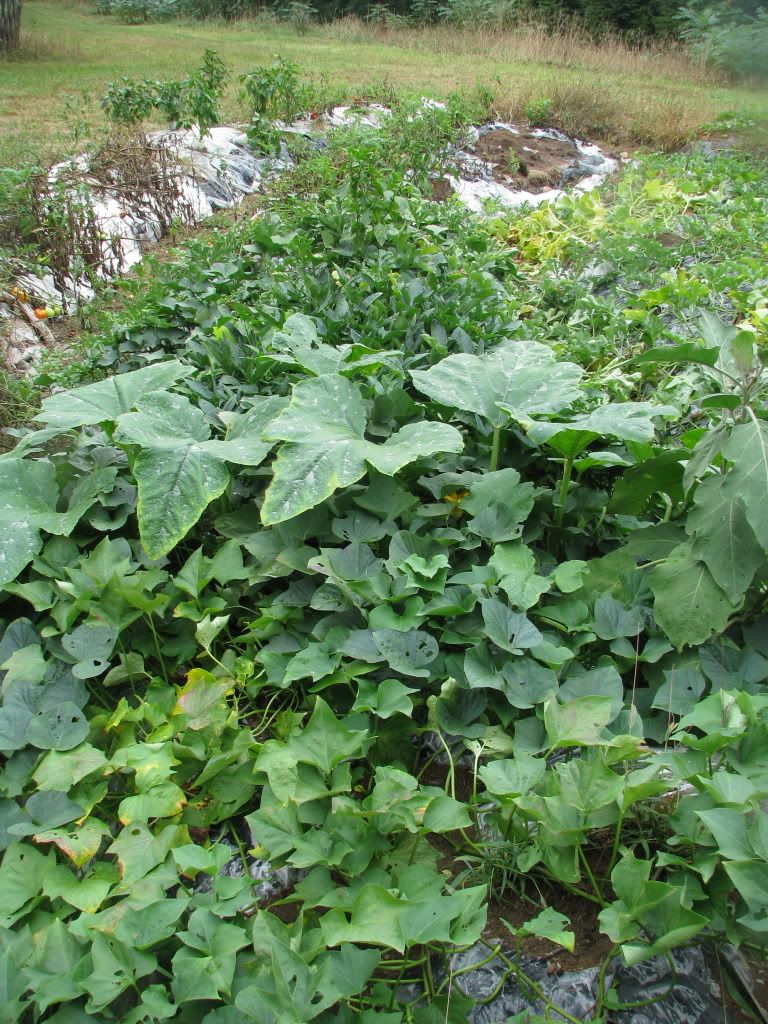
Here are some nice vines growing in The Back Rock Garden with a pumpkin wandering across.
The sweets were grown in two locations this year, both new gardens, but with very different results though I think I have an explanation. The first is The Barn Circle Garden - figured I'd give them official names now and I opt for descriptive - which was created by layering on horse manure enriched soil directly atop sod. Only short season varieties of sweets, from Mapple Farms such as George Jet, were grown with black plastic mulch (aka black garbage bags stretched over the soil and secured with more soil around the edges) with 18 inch centres.
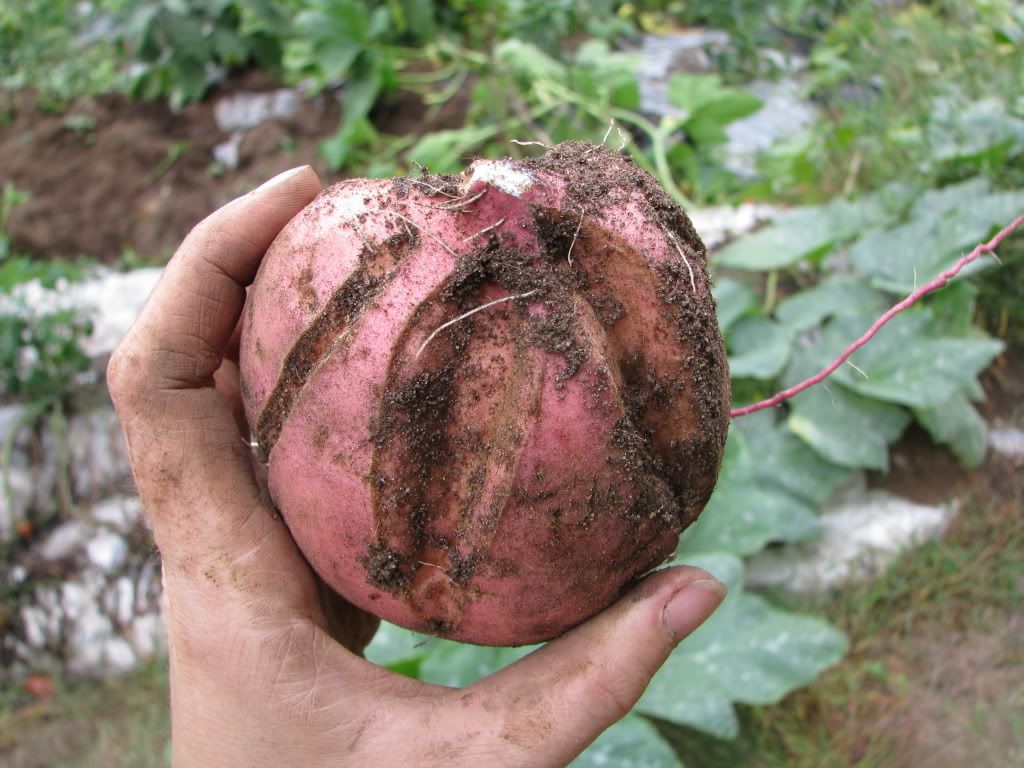
I believe this is Georgia Jet showing growth cracks.
The second garden will be called The Back Rock Garden because it is built around and on top of a large outcropping beneath the dirt that can be seen in parts where I dug it out. This was created with semi-circular berms and swales following the topography. The sod in the swales was piled up on the berms to increase the soil depth of the beds. The sweets - a mixture of varieties including some from a friend in France that were planted late - were grown with clear plastic mulch in roughly the same spacing.
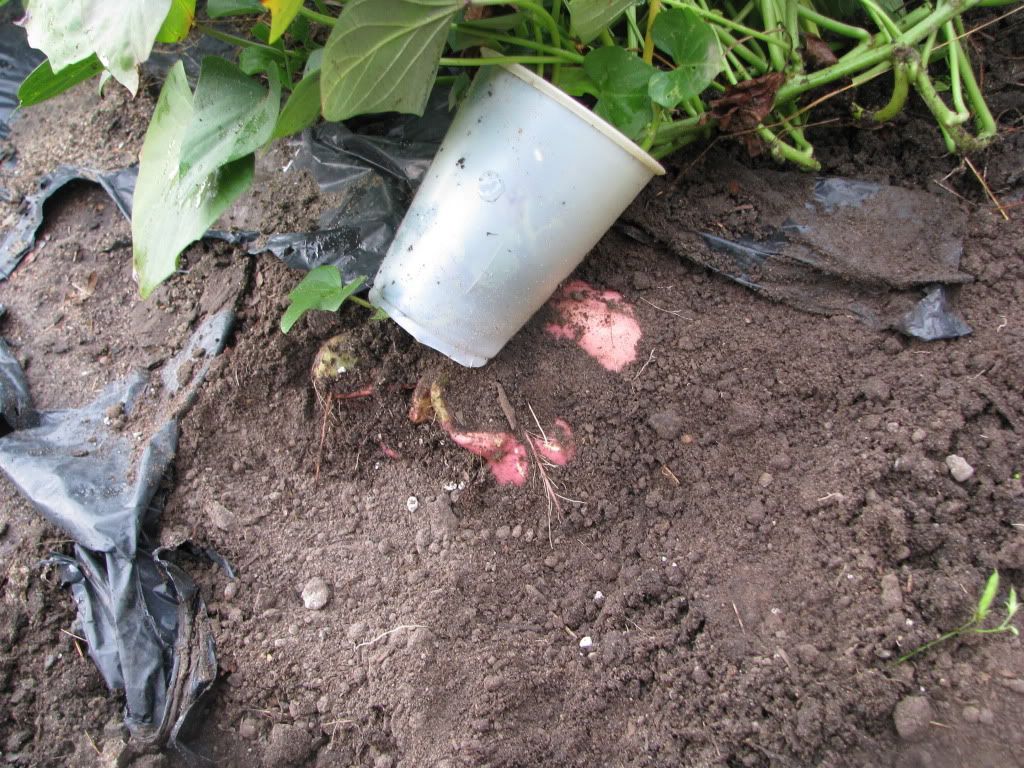
You can tell that your sweets are really starting to bulk up when the ground starts to be pushed up near the plant into a mound. Here, I removed the plastic mulch and a bit of dirt.
The haul from The Barn Circle Garden was pretty descent. I got lots of large bakers. They were almost exclusively directly under where the plant emerged from the soil. Didn't find any wanderers.
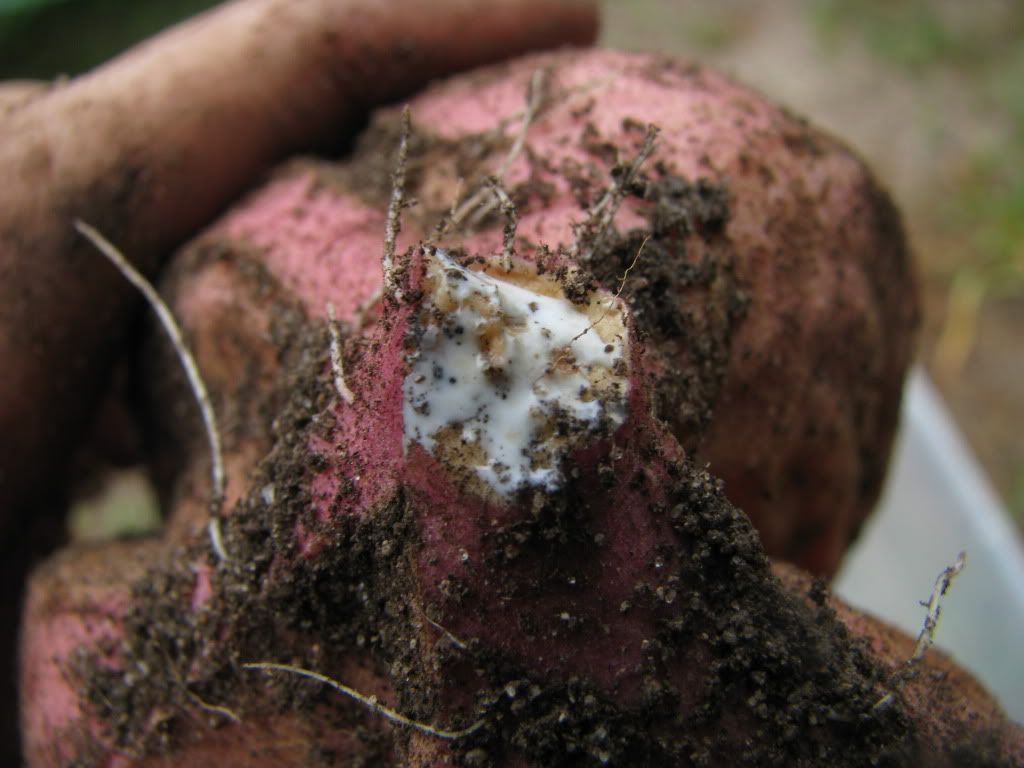
When injured, sweets produce latex to seal the wounds.
However, despite luxuriant vine growth in The Back Rock Garden, the harvest was significantly poorer. There were a couple plants with good yields which were the short season ones but the ones from France, that probably needed a longer growing season and were planted a touch later, yielded little to no sweets emphasizing the importance of variety. The only one that made a sweet potato of any size was Beauregard. However, the France plants, also had some flowers unlike the short season ones.
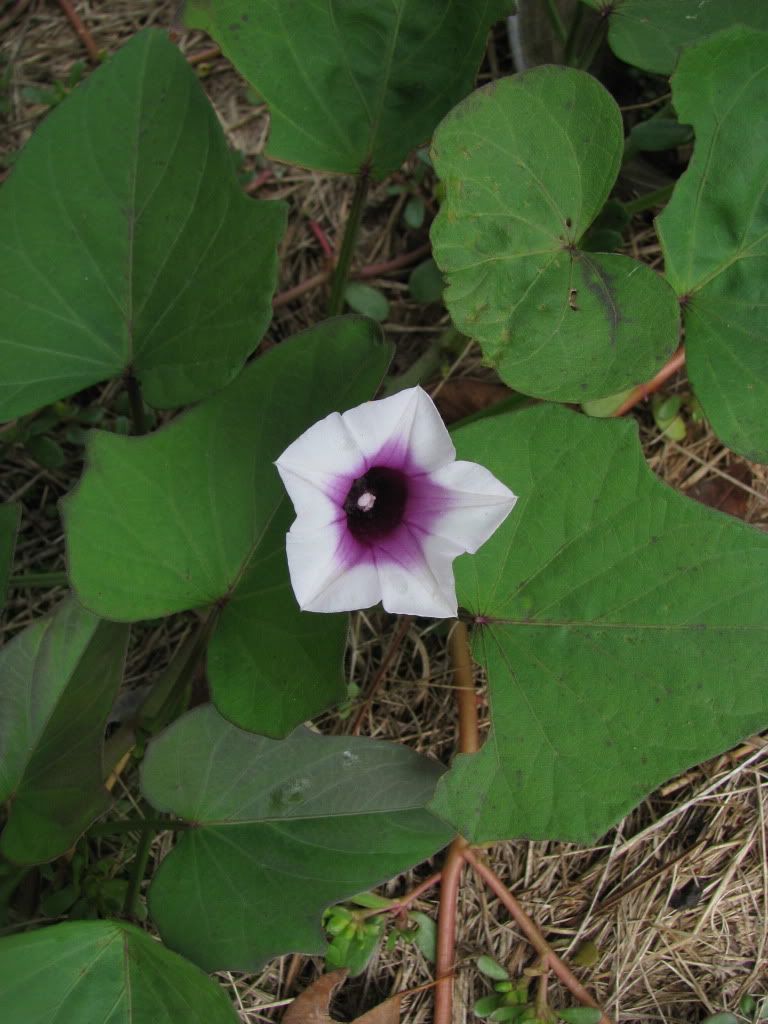
This is actually from a third location where I put some homeless plants hence the grass clipping mulch around it. It had the prettiest flower. You can see their relationship to morning glories.
They were also some adventurous roots in The Back Rock Garden that given time may have fattened into what would be impressively large sweets. I also think that the way the garden was built with sod piled on top of sod might have supplied too much nitrogen hence the beautiful vine growth. Hard to say.
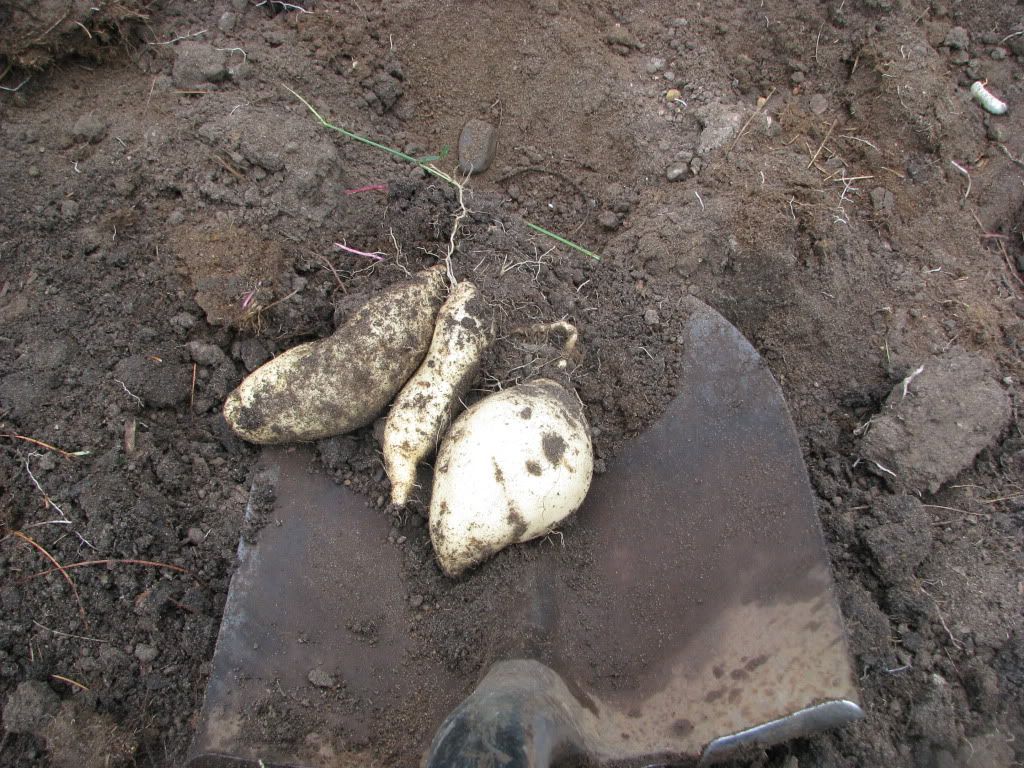
A variety named White Fraser. It didn't have as high of a yield as the other two major ones - Georgia Jet and Tainung 65 - that I tried this year but still respectable.
The Back Rock Garden is a sun trap facing south with clear plastic so the soil overall would have been hotter - good for sweet potatoes - but it may have suffered from more drought - not so good - being higher in elevation from the other and sandy in soil composition. I also get a lot more Japanese beetle damage in the back.
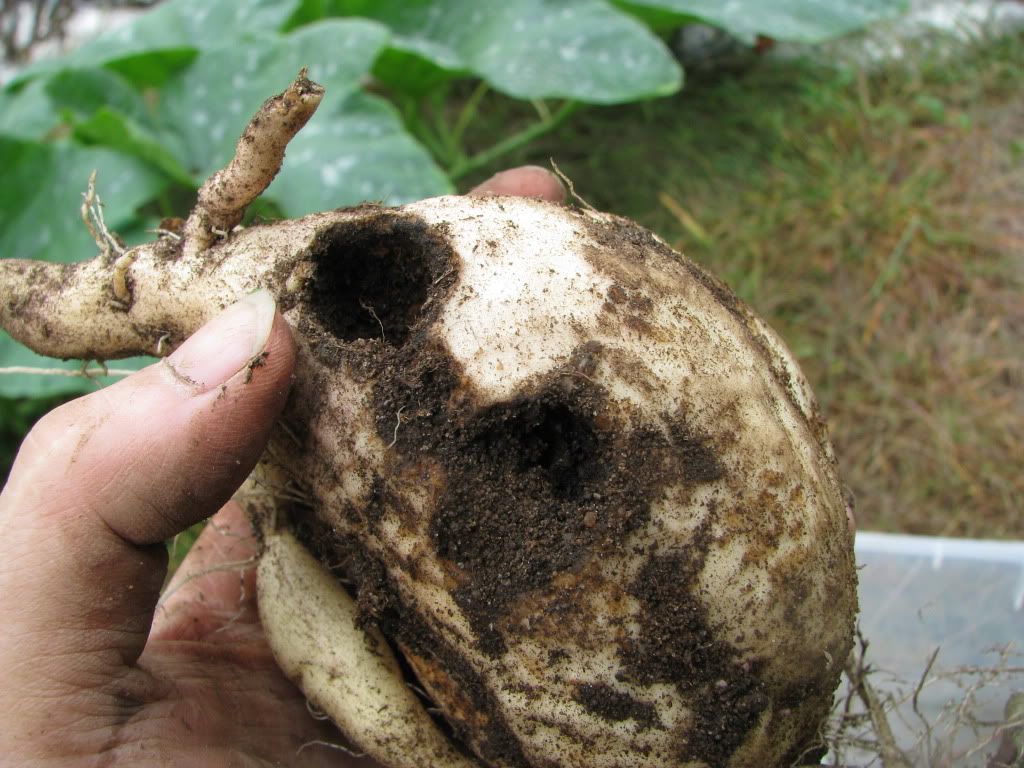
White Frazer from the Back Rock Garden with Japanese Beetle Grub Damage.
Now the challenge is to cure them as they need both high heat and humidity to seal the skins from moisture loss and improve storage considerably. I don't have any easy way of doing this like an independently heated room so I'm trying placing them in paper bags in a plastic container with lid that is left with a small crack open in the sun. We'll see how it goes.
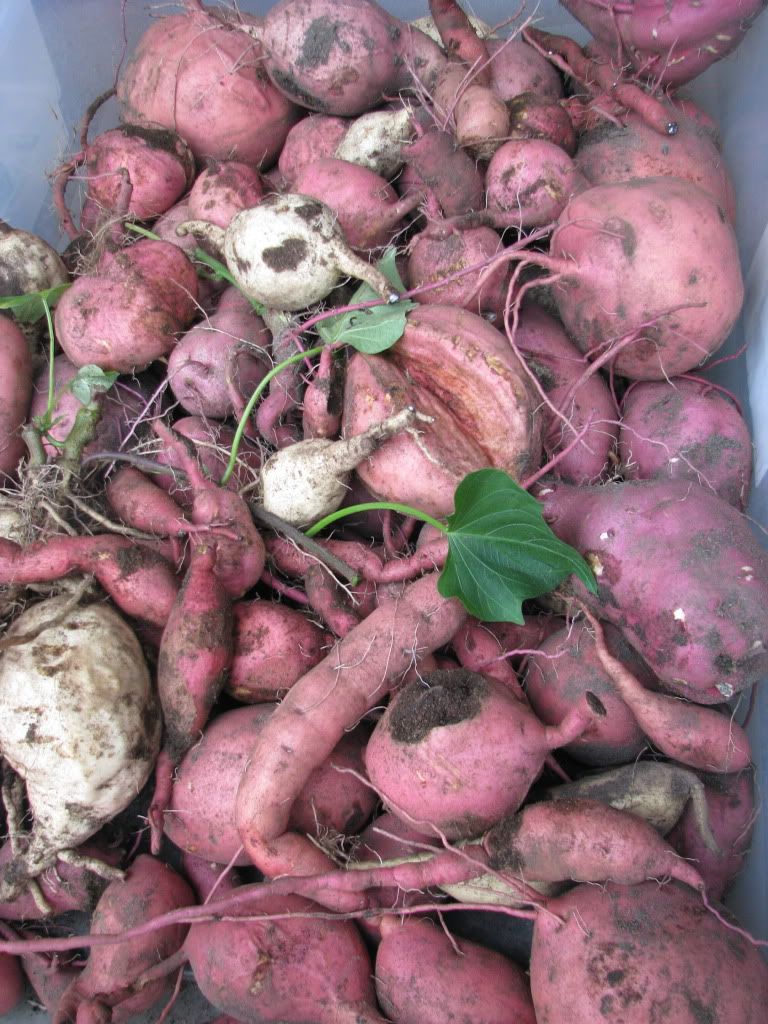
Here's the round-up. Not bad but we'll try and double it for next year.
***
Want to grow sweet potatoes? I recommend the book Sweet Potatoes for the Home Garden by Ken Allan. Can't wait until then? Here are my slap-dash instructions (the book is really good):
1. Order some slips or tubers to make slips of a SHORT season variety in the winter/spring.
2. Plant a week or two after all danger of frost in a sunny well drained spot with ideally light (sandy) soil with neutral to slighly acid pHl. You can plant these up beforehand if they come early or if you want to give them a head start. Just don't put them out until soil and air are warm.
3. To increase success, increase the heat and plant in raised mounds, row cover, or with clear plastic mulch. Black seems to do okay too but Mr. Allan's authorative suggestion is for clear. Put the mulch on a couple weeks before you plant. It should be pulled tight over the bed and secured at the edges with soil. Plant into Xs cut into the plastic about 18 inches apart and use more soil or sand to seal these. You want to make a little depression in the planting area to funnel water.
5. It doesn't hurt to add organic matter to the soil before planting. Sweet potatoes are reputed to survive with little water and nutrients but they do better if they get enough to drink. I wouldn't fertilize (but then I never do) but adding a bit of compost to the site should be nothing but helpful.
6. Let them grow.
7. Harvest before first frost when the temperatures start to cool off. I like to leave mine in the ground until early-mid September.
8. Cure for storage. This is keeping them at high temperatures, around 27C, and high humidity for several weeks (according to Mapple Farms). I am trying to figure out an easy way of doing this. Click on their brochure for more info.
9. Store at room temperature unwashed until you want to use them.
10. Use small ones to start slips in the spring!

5 comments:
Good info! I considered planting a sweet potato thsi year afer one sprouted but I realized I ahd neither the space nor the know how to do it. Maybe next year!
I've been wondering about temperature control for curing and other things too, and coincidentally came upon some useful info if you've got an extra chest freezer kicking around.
It seems the home brewers have the scoop on this: using a temperature control thingie (technical term my own) they turn a chest freezer into a little incubation chamber. The temperature range is compatible with what you need for sweets. More info at this link: http://www.winning-homebrew.com/temperature-control.html
You might need a way to add and measure humidity. You could try a bucket and a $2 moisture meter from crappy tire.
Just thought I'd share.
I enjoyed reading your thoughts on growing sweet potatoes, the ones you harvested look amazing. We also grew them this year but they didn't exactly size up but we are still enjoying them. Thanks for the tip on the book, I have added it to my reading list.
Thanks for the suggestion on curing. I'll have to try that. Right now they are living in our furnace room.
Another possible solution for curing I thought of while ruminating about the same problem...
build a simple earthbag structure (old rice bags packed with soil), insulated with papercrete (paper pulped in a water bucket with a power drill tool and water with a little portland cement added)... and then, to add heat during the winter, make a pop can solar heater
http://www.youtube.com/watch?v=R9bBnRQWRro
The heat will come in during the day and stay in over night, along with moisture. Adjust the temp and humidity with the amount of vent.
May need to be insulated from the ground to prevent heat synch loss.
May dip below optimum temperature overnight.
Post a Comment