***
Cat eating your window ledge tomato starts? Want to give your squash seedlings a head start but don't have any more space under the lights? Plants always die on you because you don't have time to harden off? Plants don't perform as well as you would like with regular wintersown techniques?
I like to call this the Indoor - Outdoor technique and I plan on taking pictures of it to the end - whatever that end might be. I have had success so far.

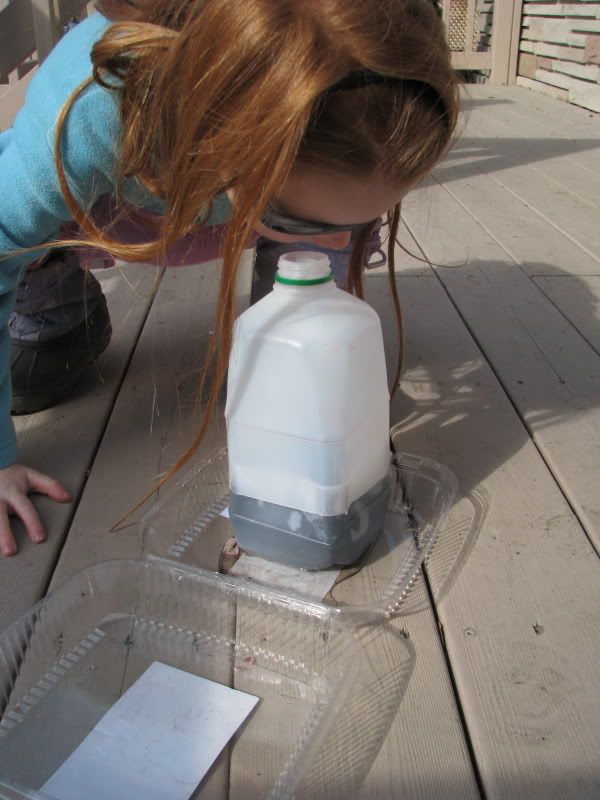
What's going on in there? My eldest looks in the bottle mini greenhouse/planter.
Cherry Tomato Starts*
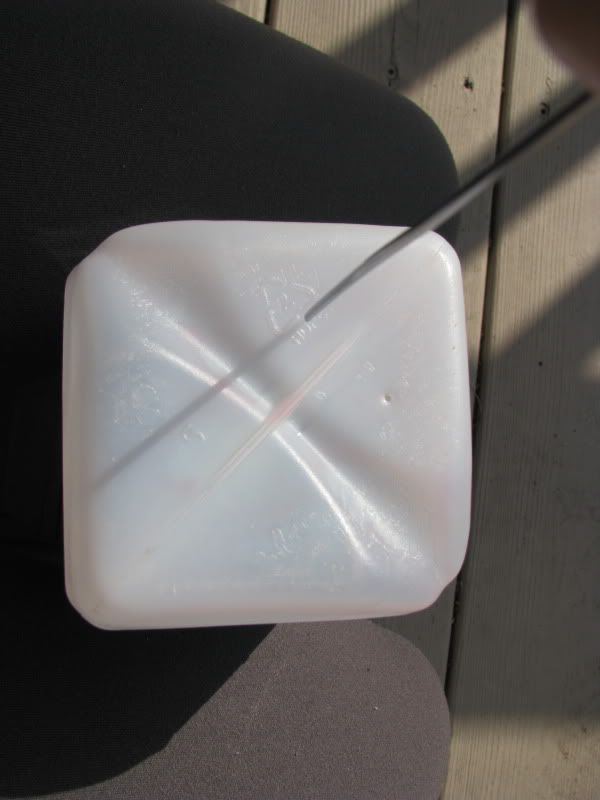
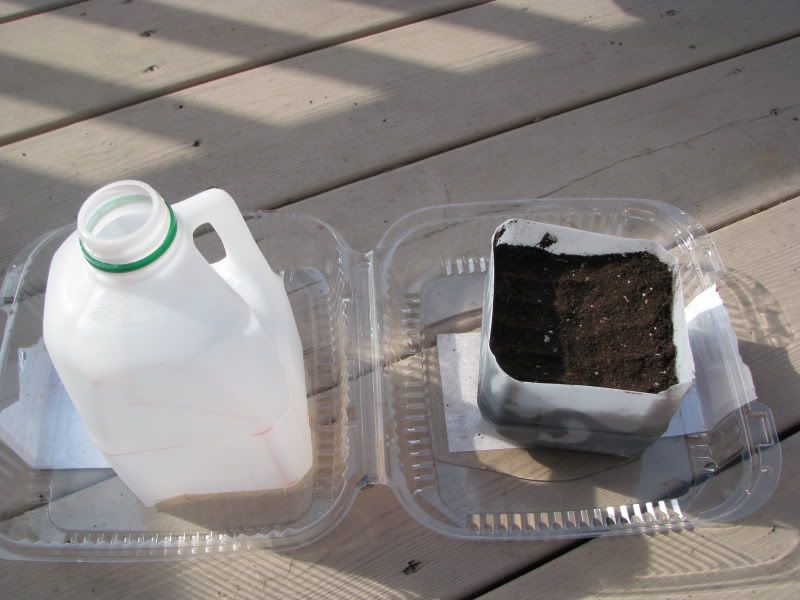
Step 1: Get a plastic jug or pop bottle and poke holes for drainage at the bottom. Cut in half. You can cut some windows in the side for further ventilation later.

Juice container with being pierced with a metal BBQ squewer
Step 2: Put seed starting mix / dirt in the bottom half. Water well. Put in some seeds

Step 3: Replace the top by squeezing in a bit at the sides. There are other ways of doing this, check out wintersown for more ideas of containers and techniques.
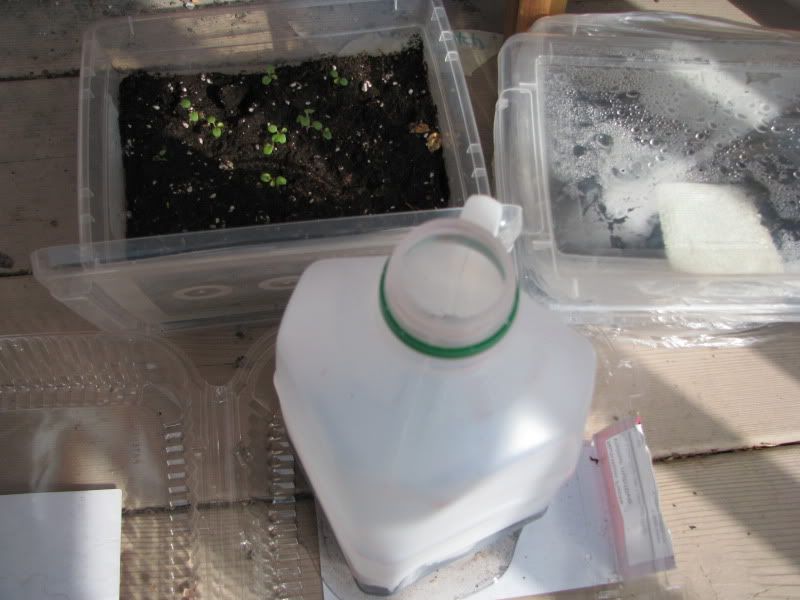
Step 4: Put outside during the day when the temperature is above 4 C. This is why it is best to start around April 1st but this year, with the unusually nice weather we've been having, I started now. However, for vining starts like squash, I'd wait until at least mid-April if you are planning on putting them out mid to late May. Later if you aren't planting out until June.

Yes, those are some violas started this way already up and growing.
Step 5: If the day is especially hot, open up slightly for more circulation. Entirely remove the cover if seedlings have been exposed to wind for a few days. You can also place seedlings in a box so they get less wind. If very warm, you may also want to put them in a lightly shady spot (if possible) while you are at work all day.
Step 6: Take in your planting bottle each evening unless the night temperatures are above 6C (margin of error for frost). Remember to water frequently if it has not rained or is sunny.
When the seedling is between 6-8 weeks old and danger of frost is passed, you can plant in final location. In Ottawa this varies from mid May to the beginning of June.
More pictures to come as project progresses.
Have fun!
* Tomatoes, squash can quite easily be started using regular wintersowing techniques. I like this method because I find frost tender plants get a bit bigger. I sometimes also germinate seed indoors and then give them the indoor / outdoor treatment from when they are tiny seedlings so they don't spend any time under lights but they are jump started into growing before nighttime temperatures would be conducive to that.
So feel free to just sow and leave them outside. That'll work too. You may have to water on occasion during dry weather.

3 comments:
Good idea using a milk jug! I have some seeds planted in pop bottles.
Great Ideas, thank you for the tips
Some of my containers were a little sketchy and were tossed but overall I think my winter sowings are going well. My orach has sprouted, anyway !
Post a Comment